 |
LanScape VOIP Media Proxy® |
|
|
Getting Started |
|
|
The LanScape VOIP Media Proxy® |
|
|
Media Proxy Configuration |
|
|
Configuration Dialogs |
|
|
Backing up and restoring configuration information |
|
|
Running Multiple Instances |
|
|
Running the proxy server as a service |
|
|
Deployment Scenarios |
|
|
Help File Version |
|
|
Performing Configuration
Configuring
your LanScape VOIP Media Proxy Server® software is a fairly simple task.
The first time you start the server, it will ask you to specify a minimal
number of settings before it will actually start running. The first time
you start the VOIP Media Proxy Server®, you will see a dialog similar
to the following:
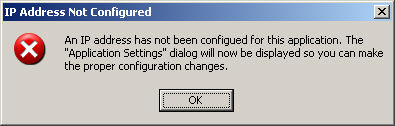
The proxy server is asking you to specify the IP address it will use. When
you click the OK button, you will be taken to the following configuration
dialog:
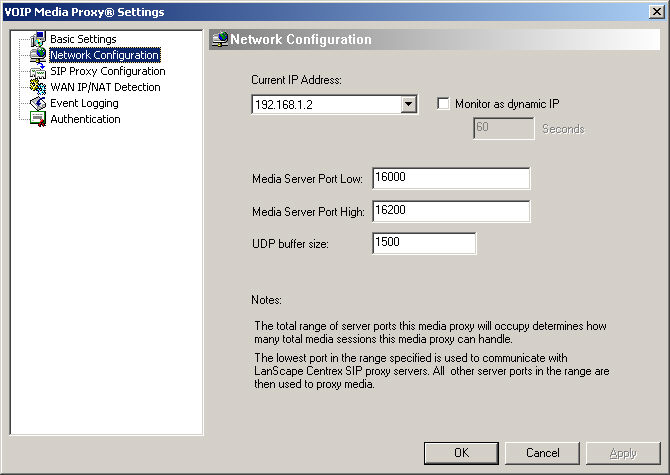
To continue, simply select the "Server IP Address" you want to
use in the drop down list box. If you do not see your IP address in the
list box, make sure your host's network settings are correct and that
your NIC adaptor is enabled. Once you select the proper IP address, press
the OK button.
At this point, your VOIP Media Proxy Server® software should start up and
display its graphical user interface. Depending on what you want to do
with your VOIP Media Proxy Server®, you will most likely have to perform
additional configuration. To see all of the settings available to you,
please go to the "Configuration Dialogs" section of this help
file image. To access the configuration dialogs, select Configure->Proxy
Server Settings from the application's main menu.
|